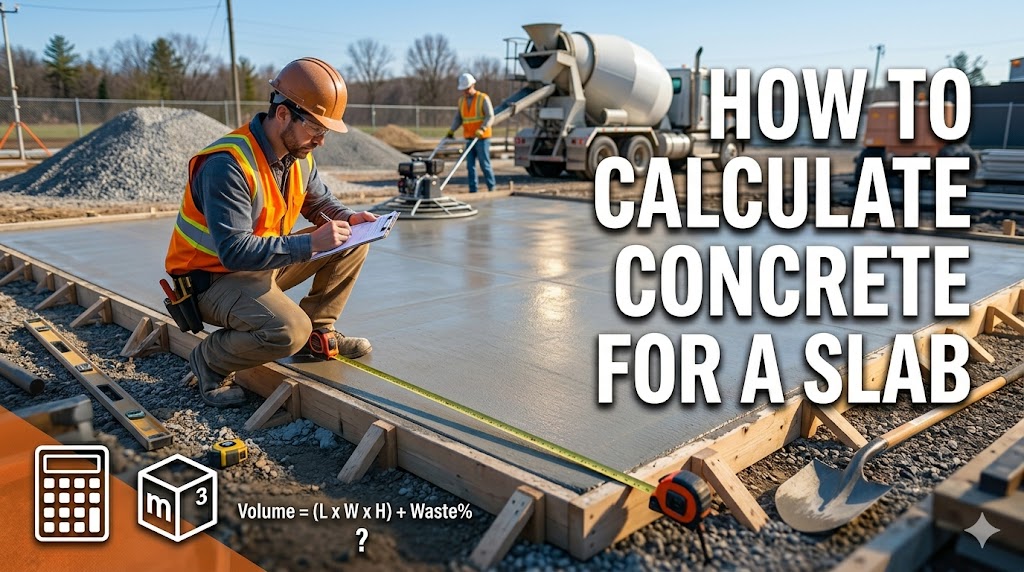
Whether you’re pouring a backyard patio, a garage floor, or a shed foundation, one question always comes first: how much concrete do I actually need? Ordering too little means a frustrating mid-pour emergency. Ordering too much wastes money. This guide walks you through every step of calculating concrete for a slab — accurately, confidently, and without guesswork.
💡 Save time: Use our Free Concrete Slab Calculator to get your number instantly, then use this guide to understand exactly what that number means.
What You’ll Learn in This Guide
- The exact formula for calculating concrete volume
- How to convert measurements to cubic yards
- How thick your slab actually needs to be
- How to account for waste (and why it matters)
- Bags vs. ready-mix: which to choose
- Common mistakes to avoid
- How to use our free calculators to speed up the process
Step 1: Understand the Basic Formula
Calculating concrete volume comes down to one simple formula:
Volume = Length × Width × Thickness
The tricky part is unit consistency. Concrete is ordered and sold by the cubic yard in the United States, but most people measure their slab in feet and inches. So you need to convert everything to feet first, then divide by 27 (because 1 cubic yard = 27 cubic feet).
The full formula:
Cubic Yards = (Length ft × Width ft × Thickness ft) ÷ 27
Example: 10×12 Patio at 4 Inches Thick
- Length: 10 ft
- Width: 12 ft
- Thickness: 4 inches = 4 ÷ 12 = 0.333 ft
10 × 12 × 0.333 = 40 cubic feet
40 ÷ 27 = 1.48 cubic yards
That’s your raw volume. But you’re not done yet — you still need to add for waste (more on that in Step 4).
🔢 Skip the math: Plug your dimensions directly into our Concrete Calculator and get cubic yards, cubic feet, and bag count in seconds.
Step 2: Decide on the Right Slab Thickness
Thickness is the single biggest variable in your concrete calculation — and getting it wrong is expensive. A slab that’s 1 inch too thin might need replacing in 5 years. A slab that’s 2 inches too thick costs you significantly more concrete than needed.
Here are the standard thickness guidelines:
| Project Type | Recommended Thickness |
|---|---|
| Pedestrian walkway / sidewalk | 3–4 inches |
| Residential patio | 4 inches |
| Garage floor (passenger vehicles) | 4–5 inches |
| Driveway (passenger vehicles) | 4 inches |
| Driveway (trucks / heavy vehicles) | 5–6 inches |
| Workshop / shed floor | 4 inches |
| RV pad or heavy equipment | 6 inches |
📐 Not sure what thickness your project needs? Our Slab Thickness Guide recommends the right depth based on your load type and soil conditions.
Pro Tip: If you’re in an area with freeze-thaw cycles, increase thickness by at least half an inch and always use air-entrained concrete. Frost heave is one of the leading causes of slab cracking in colder climates.
Step 3: Measure Your Area Accurately
Sounds obvious, but measurement errors are the #1 cause of ordering mistakes. Here’s how to do it right:
Rectangular Slabs
Measure length and width at multiple points, especially if your space isn’t perfectly square. Use the largest measurement for each dimension to make sure you don’t come up short.
L-Shaped or Irregular Slabs
Break the shape into two or more rectangles. Calculate the volume of each section separately, then add them together.
Example: L-shaped patio
- Section A: 12 ft × 8 ft × 0.333 ft = 32 cubic feet
- Section B: 6 ft × 10 ft × 0.333 ft = 20 cubic feet
- Total: 52 cubic feet ÷ 27 = 1.93 cubic yards
Round or Circular Slabs
Use the circular volume formula:
Volume = π × radius² × thickness
For a 12-foot diameter fire pit pad at 4 inches thick:
- Radius = 6 ft
- Volume = 3.14159 × 36 × 0.333 = 37.7 cubic feet ÷ 27 = 1.4 cubic yards
🔵 Round slab? Our Round Slab Calculator handles circular calculations automatically — just enter your diameter and thickness.
Step 4: Always Add a Waste Factor
This is the step most beginners skip — and it’s the reason so many DIY pours run out of concrete before the job is done.
Why do you need extra concrete?
- Subgrade is never perfectly level (low spots consume more concrete)
- Spillage during pouring and finishing
- Slight variations in your forms
- Over-excavation beyond your planned dimensions
Standard waste factors:
- 5% — Experienced contractors with precision-built forms
- 10% — Typical residential DIY project (recommended starting point)
- 15% — Irregular shapes, uneven terrain, or first-time DIYers
- 20% — Complex projects with curves, slopes, or steps
Applying the Waste Factor
Final Order = Calculated Volume × (1 + Waste Factor)
For our 10×12 patio (1.48 cubic yards) with 10% waste:
1.48 × 1.10 = 1.63 cubic yards → order 1.7 cubic yards
Running short mid-pour is a serious problem. When fresh concrete sits while you wait for more, the earlier pour begins to set. The joint where old meets new concrete is called a cold joint — it’s structurally weak and prone to cracking. Always have enough.
⚠️ Important: Most ready-mix suppliers have a minimum order (usually 1 cubic yard) and charge a short-load fee for smaller quantities. An emergency re-order mid-pour can cost $150–$300 in fees alone — far more than the cost of a little extra concrete.
Step 5: Bags or Ready-Mix Concrete?
Once you know your volume, you need to decide how to buy your concrete. This is a bigger decision than most people realize.
Bagged Concrete (DIY Mix)
Best for: Small projects under 1 cubic yard (27 cubic feet)
Common bag sizes and yields:
- 40 lb bag → approximately 0.30 cubic feet
- 60 lb bag → approximately 0.45 cubic feet
- 80 lb bag → approximately 0.60 cubic feet
For a small 4×4 stepping pad at 4 inches thick:
4 × 4 × 0.333 = 5.33 cubic feet
5.33 ÷ 0.60 = 8.9 → need 9 bags of 80 lb concrete
Pros: Available at any hardware store, no minimum order, mix as you go Cons: Labor-intensive, time-consuming, inconsistent mixing, expensive per cubic yard
🛍️ How many bags do you need? Use our Concrete Bag Calculator to convert any cubic footage into bag counts by size.
Ready-Mix Concrete (Truck Delivery)
Best for: Anything over 1 cubic yard
Ready-mix concrete arrives in a mixer truck already batched to your specified PSI. It’s faster, more consistent, and usually cheaper per cubic yard for larger pours.
Average ready-mix cost (2026): $150–$200 per cubic yard depending on your region and PSI specification.
Pros: Consistent mix, fast pour, no manual labor for mixing Cons: Minimum order quantities, delivery fees, time pressure (concrete must be placed within 90 minutes)
💰 Want to compare costs? Our Concrete Cost Calculator breaks down bags vs. ready-mix pricing for your specific project volume.
Step 6: Choose the Right PSI (Concrete Strength)
Not all concrete is the same strength. PSI (pounds per square inch) indicates compressive strength — the higher the number, the stronger the concrete.
| PSI | Best Use Case |
|---|---|
| 2500 PSI | Footings, non-structural fills |
| 3000 PSI | Residential driveways, patios, slabs (most common) |
| 3500 PSI | Driveways with heavy vehicles |
| 4000 PSI | Commercial floors, structural elements |
| 5000+ PSI | High-load structural applications |
For the vast majority of residential concrete slabs — patios, garage floors, sidewalks — 3000 PSI is the standard. It balances cost and durability perfectly.
Higher PSI mixes typically cost $10–$20 more per cubic yard from a ready-mix supplier but can be worth it for long-term durability, especially in high-traffic areas.
Step 7: Don’t Forget Reinforcement
Concrete is strong in compression but weak in tension — meaning it resists being crushed but can crack when pulled or flexed. Reinforcement adds tensile strength to prevent cracking.
Wire Mesh (Welded Wire Fabric)
- Used in residential slabs, patios, and garage floors
- Placed in the middle of the slab (use chairs to elevate it)
- Prevents cracks from spreading after they form
- Cost: ~$0.10–$0.15 per square foot
Rebar (Steel Reinforcing Bar)
- Used in driveways, footings, structural slabs
- #3 rebar (3/8 inch) on 18-inch grid is standard for residential driveways
- Provides structural strength, not just crack control
- Cost: ~$0.50–$1.00 per linear foot
Fiber Reinforcement
- Mixed directly into the concrete
- Controls surface shrinkage cracking
- Does NOT replace rebar for structural strength
- Best used in combination with mesh or rebar
📏 Calculate your rebar needs: Use our Rebar Calculator to determine how many linear feet and what spacing you need for your slab dimensions.
Step 8: Prepare Your Site Properly
Even a perfectly calculated concrete order will fail if your site preparation is poor. This is the step that separates lasting slabs from ones that crack within a year.
The proper base sequence:
- Excavate to the correct depth (slab thickness + 4 inches for gravel base)
- Add 4 inches of compacted gravel (crushed stone #57 is ideal)
- Compact with a plate compactor until the surface is firm — you should leave no footprints when walking on it
- Install forms (2×4 or 2×6 lumber depending on slab thickness)
- Lightly dampen the base just before pouring — this prevents the dry subgrade from sucking water out of the concrete too fast
- Place vapor barrier (inside slabs only) to prevent moisture migration
A 4-inch compacted gravel base does three things: provides drainage, prevents ground movement from cracking the slab, and gives you a stable, level surface to pour against.
Putting It All Together: Complete Example
Let’s calculate everything for a 12×20 ft garage floor at 4 inches thick:
Step 1 — Raw Volume:
12 × 20 × 0.333 = 79.92 cubic feet ÷ 27 = 2.96 cubic yards
Step 2 — Add 10% waste:
2.96 × 1.10 = 3.26 cubic yards → order 3.5 cubic yards
Step 3 — PSI: 3000 PSI (standard residential garage)
Step 4 — Reinforcement: Wire mesh or #3 rebar on 18-inch grid
Step 5 — Ready-mix vs. bags: At 3.5 cubic yards, definitely use ready-mix. Bagging this would require ~158 bags of 80 lb concrete — exhausting and time-consuming.
Step 6 — Base: 4 inches of compacted gravel = 12 × 20 × 0.333 ft = 2.96 cubic yards of gravel
🏗️ Get the full breakdown in one click: Our Concrete Slab Calculator outputs cubic yards, bag count, waste-adjusted totals, and cost estimates all at once.
Common Mistakes to Avoid
1. Measuring in inches but forgetting to convert Always convert thickness to feet before calculating. 4 inches = 0.333 ft, not 4.
2. Skipping the waste factor Even a 5% overage is better than nothing. Running short mid-pour costs far more than the extra concrete.
3. Pouring on unprepared ground No gravel base = slab will settle unevenly and crack within 1–2 years.
4. Under-ordering for round or irregular shapes These shapes are harder to estimate mentally. Always use a calculator and add extra waste.
5. Ordering PSI that’s too low 2500 PSI is technically sufficient for footings, but don’t use it for driveways or garage floors where you need durability.
6. Not checking weather Concrete should not be poured when temperatures are below 40°F or above 90°F without special precautions. Cold slows curing; heat accelerates it, causing surface cracking.
Quick Reference: Concrete Calculators for Every Project
Your slab is just one of many concrete projects you might tackle. Here are the tools available to you on All Concrete Calculator:
- Concrete Slab Calculator — rectangular and square slabs
- Round Slab Calculator — circular pads and patios
- Footing Calculator — continuous and isolated footings
- Column Calculator — round and square concrete columns
- Bag Calculator — convert cubic yards to bag counts
- Rebar Calculator — reinforcement planning
- Cost Calculator — full project cost breakdown
- Driveway Calculator — specialized for driveway slabs
Final Thoughts
Calculating concrete correctly before you pour is one of the most important steps in any concrete project — and it’s not complicated once you know the formula. Measure your slab, apply the right thickness for your use case, add a waste factor, and decide between bags and ready-mix based on your volume.
The math is simple. The preparation matters more than most people realize. And having the right tools makes both effortless.
Ready to calculate your project? Head to our Free Concrete Calculator — it takes under 60 seconds and gives you everything you need to order with confidence.
Found this guide helpful? Browse more articles in our Concrete Learning Hub for tips on mixing, curing, finishing, and more.
Leave a Reply